Mt. Meru detailed trekking itinerary
Mt. Meru detailed trekking itinerary
Day 1
Moshi (915 m/3,000 ft) to Momella Gate (1,500 mts /4,921 ft) to Mariakamba Huts (2,514 mts/ 8,250 ft)10 km, 4-6 hours Montane Forest
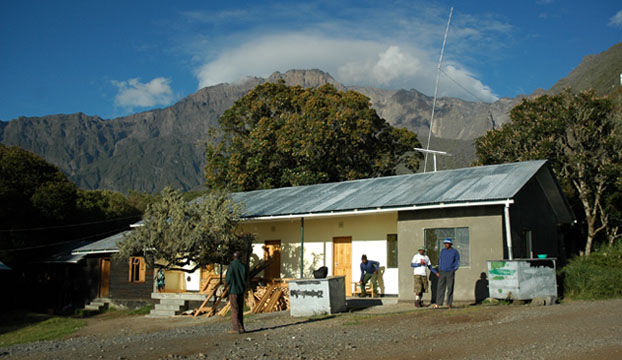
Transfer from Arusha to Arusha National Park do all the formalities at Ngongongare Gate, later in the morning, walk under the Momella Gate to begin the trek. Clients walk over Ngare Nanyuki River and soon pass open grassland where clients can see Buffalo, Warthogs, Giraffes and sometimes Elephants. Then continue though steady climb through Montane forest. Clients can pause for their lunch later during the day. After lunch, continue through less dense forest, where clients can see birds and monkeys, including the Black & White Colobus. By mid afternoon, clients have closer views of Meru’s towering cliffs and Ash Cone. The Mariakamba Huts are situated in an idyllic grassy glade, and clients will reach it in time to enjoy the afternoon sun and beautiful views over the surrounding plains between Mt. Meru and Mt. Kilimanjaro. If clients are lucky, they may see some animals walking though the Mariakamba Huts
Later dinner will be served HB
Day 2
Mariakamba Huts (2,514 mts / 8,250 ft) to Saddle Huts (3,570 mts /11,712 ft) 8 km, 3-5 hours Forest and Moorland
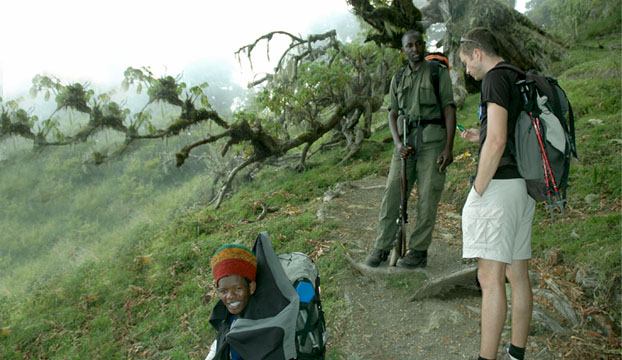
From the Mariakamba Huts, clients climb steeply to the crater rim, which is called Elephant Ridge (In Swahili: Mgongo Wa Tembo) follow a steep path through attractive open lush Montane Forest to reach the Giant Heather in the Moorland near the saddle between Little Meru and Meru. A hot lunch will be ready for you when you arrive at the Saddle Huts. Client’s afternoon is free to rest and enjoy the views, but energetic trekkers can make the short climb to the nearby summit of Little Meru (3,820 m/12,533 ft) for superb views just before sunset.
Returning to Saddle Hut for dinner and overnight FB
Day 3
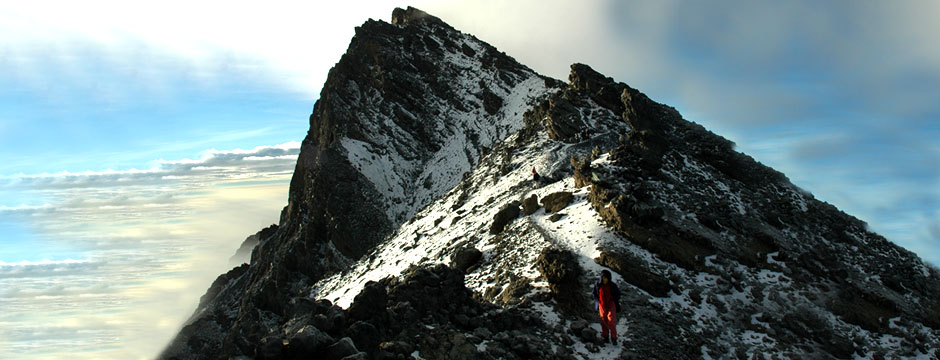
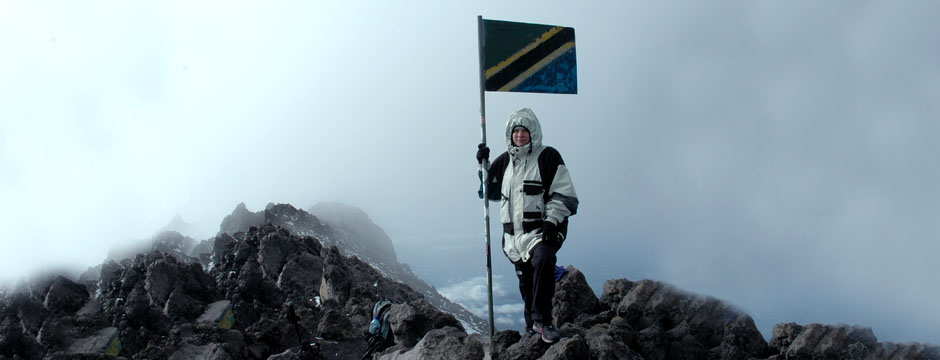
Summit Day! Saddle Huts (3,570 mts / 11,712 ft) to Mount Meru (4,565 mts /14,977 ft) to Mariakamba Huts (2,514 mts /8,250 ft) 5 km up, 13 km down 10-12 hours Alpine Desert, Moorland, and Montane Forest
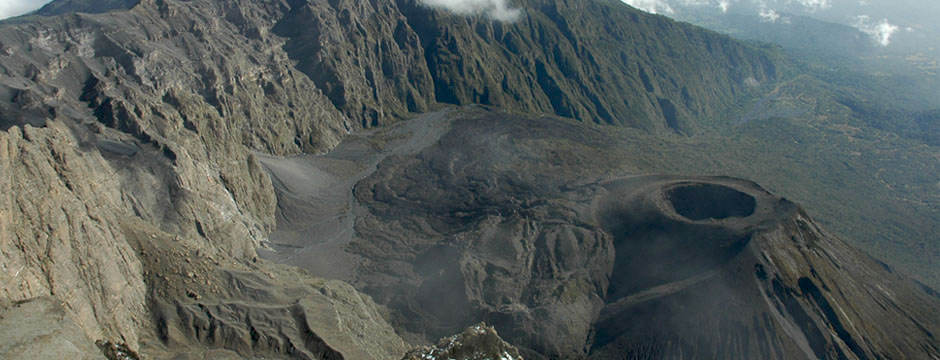
Early at 0100 hrs, and climb steeply for an hour to Rhino Point (3,800 m/12,467 ft). In icy conditions or in strong winds, it may be unreasonable to progress beyond Rhino Point, but sunrise from here is equally as spectacular as from Cobra Point. If the weather is fine, descend slightly and continue along or near a rough undulating ridge of ash and rock to reach Cobra Point (4,350 m/14,271 ft) near sunrise. The stunning views include the cliffs of the crater rim, the Ash Cone rising from the crater floor, Kilimanjaro floating on the morning clouds, and the Rift Valley. Hike for another hour on a superb but often steep path into the unfolding day to reach the summit of Mt. Meru. The view from the top of this steep-sided peak can make you feel quite unique and suspended. Clients hike back to Rhino Point in the still sharp morning light between the crater’s sloping outer wall and sheer cliffs of the inner wall is one of the most dramatic and exhilarating walks in Africa. Later have brunch and a well-earned rest at the Saddle Huts before continuing descent to the Mariakamba
Day 4
Mariakamba Huts (2,514 mts / 8,250 ft) to Momella Gate (1,500 m/4,921 ft) to Arusha
(1200 mts / 2,920 ft) 10 km, 2-4 hours Montane Forest
Taking a slightly different route, make a fast descent through open grassland and mixed forest, with good chances of seeing wildlife.
This trail has excellent views back toward the crater and over the plains of the National park. You will reach Momella Gate by late morning.
Please remember to tip your guides and porters, since you will be leaving them here. A vehicle will take you
Back to Arusha, where it is definitely time for celebration HB
Included Service:
Transport to and from
Park entry fees
Hut fees
Rescue fees
Ranger/ Guide
Two Potters per one climber
Meals B/L/D
Cook
Not Included Service:
Climbing Gears
Tips
Items of personal nature